


Build your own service copilot with Copilot for Service (Preview)

During the Microsoft Ignite conference in November there have been a lot of announcements about Microsoft Copilot. There are a ton of different copilot types, each with their own unique experience. Think about Microsoft 365 Copilot, which acts as a personal assistant to the end user, or Copilot for Dynamics 365 Sales, which allows sales reps to get summaries for leads and opportunities, (amongst other things) and Copilot for Dynamics 365 Customer Service, which helps agents do their work faster by helping draft emails and searching knowledge articles to help resolve cases faster, in Dynamics 365. In this article I am going to discuss Copilot for Service, a new offering which is in preview today. Microsoft announced the pricing for Copilot for Service will be $50 per user per month, and Microsoft 365 Copilot would be included!
Copilot for Service vs Copilot for Dynamics 365 Customer Service
Both Copilots leverage knowledge content to help agents resolve cases quicker. These sources can include websites, SharePoint sites, and for Copilot for Dynamics 365 Customer Service, knowledge articles from Dynamics 365. One of the major differences between Copilot Service and Copilot for Dynamics 365 Customer Service is the ability to extend it. When I say ‘extending’ Copilot, I’m referring to configuring Copilot to add external knowledge sources, create topics, actions and plugins for Copilot for Service. Being able to extend a copilot is not something that is available for Copilot for Dynamics 365 Customer Service (yet?). Another great benefit of Copilot for Service is the ability to connect your copilot to one or multiple external systems, like Sales Force, Service Now or Zendesk with a few clicks! This will allow Copilot to search for knowledge content in those applications. The integrations to these third party apps are already built in and available from Copilot for Service, which will make it a lot easier and quicker to deploy. So if your organization is using any of these applications I just mentioned, then Copilot for Service is for you!
Sign up for the preview
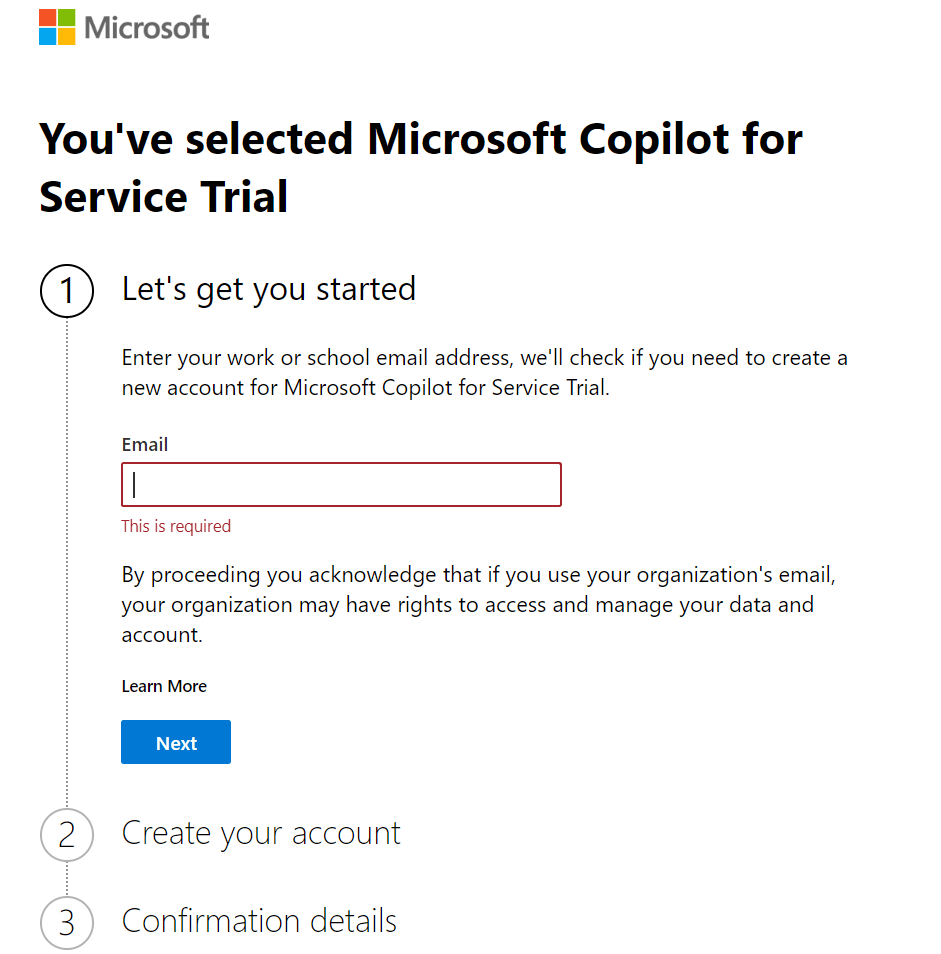
Getting access to the Copilot for Service preview is very easy! By the way, it does look like you need a dataverse environment if you want to use this, as you need to point copilot for service to an environment. The first thing you’ll need to do, to get access is visit https://www.microsoft.com/en-us/copilot/microsoft-copilot-for-service and sign up for the preview. When you click on the ‘sign up for preview’ button, you will be taken to the Copilot for Service trial page, where you’ll need to enter your email address and enter some additional information. Keep in mind that if you are using an email address that is tied to an existing Microsoft 365 instance, the Copilot for Service trial will be attached to that environment. If there is no Microsoft 365 tenant associated with the email address, I assume you can sign up for one as you go through these steps. (I didn’t test this out since I am using an email address associated with an existing Microsoft 365 instance.) Once you complete these steps, you will have access to your Copilot for Service trial!
Create your first Copilot
When you open Copilot for Service make sure you have the correct environment selected. I have Copilot for Dynamics 365 enabled in this environment, but Copilot for Dynamics 365 Customer Service doesn’t show up under Copilot for Service. (Which makes sense, since we can’t extend or customize Copilot for Dynamics 365 Customer Service.) To create your first copilot, click the ‘Create a copilot for agents’ button. On the next screen you’ll notice the option ‘To connect to Dynamics 365 Customer Service and its omnichannel engagement capabilities, create a copilot here‘. This might be confusing, as it could be interpreted that we can create our own custom Copilot for Dynamics 365 Customer Service, which is NOT the case. Microsoft recommends using the existing Copilot for Dynamics 365 Customer Service. You can’t create a custom Copilot for Dynamics 365 Customer Service and add the third party apps shown in the image below. To create a (non-D365 Customer Service) Copilot, first you’ll have to enter a name for the copilot and click the next button. You’ll notice the default language is English and we are unable to change the language setting.
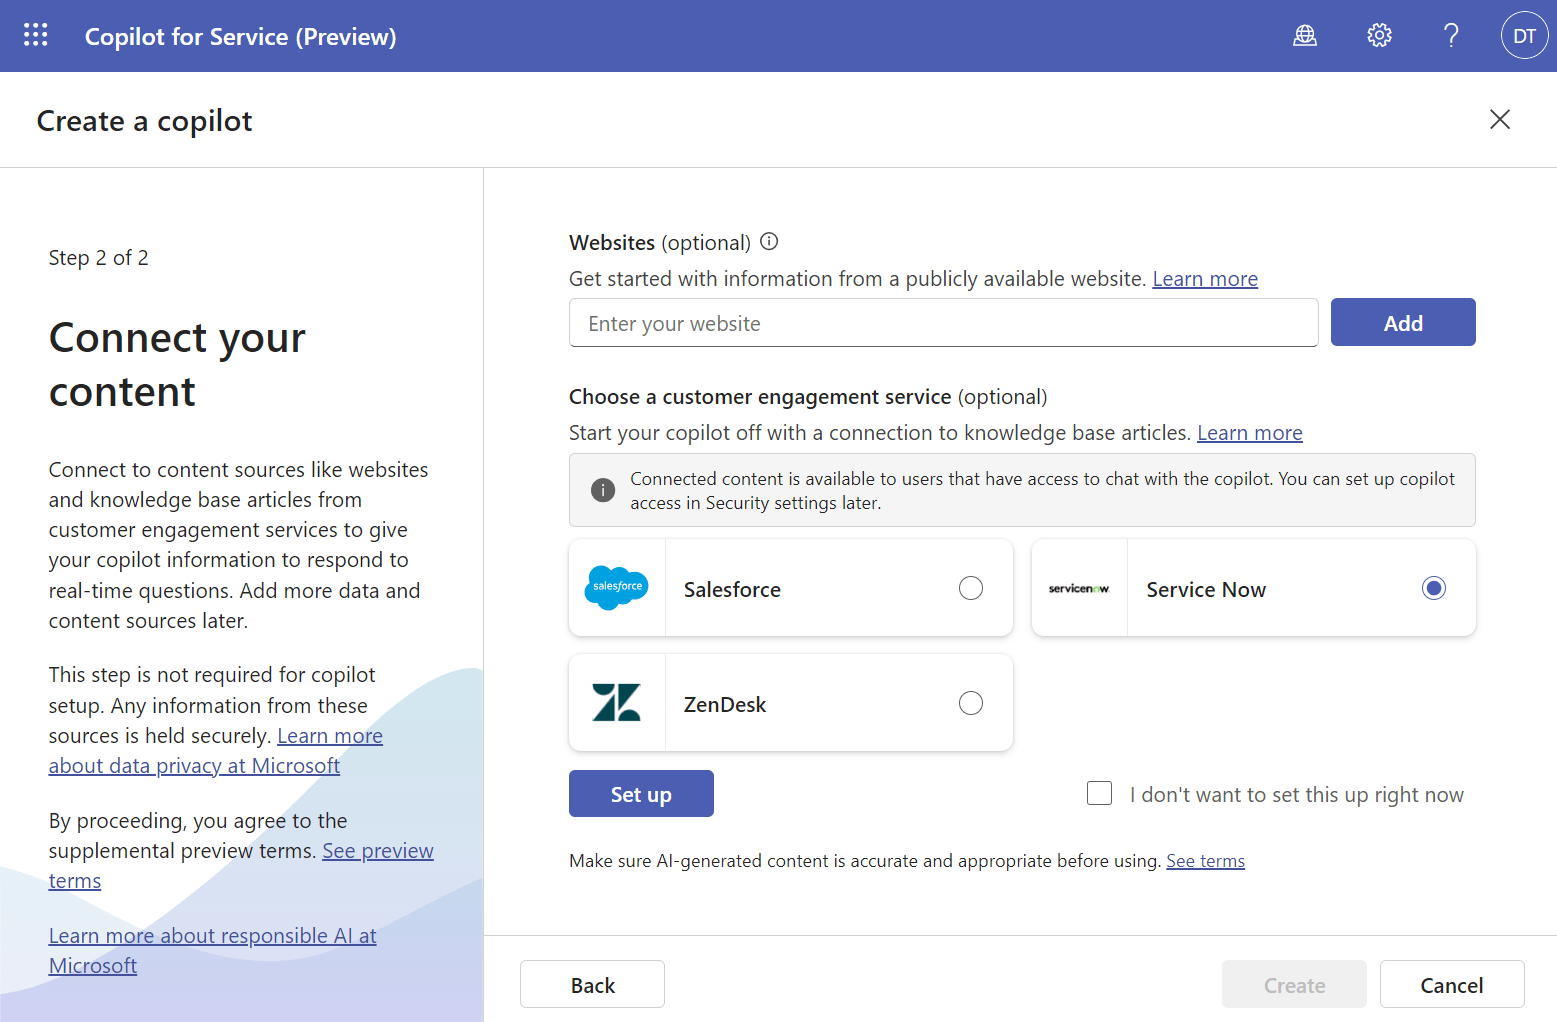
The next screen (image above) allows the admin to select websites that Copilot for Service will use as a content/knowledge source. Keep in mind these websites need to be public facing websites. For more information about websites that can be used by copilot, take a look at this article posted by Microsoft. You’ll also notice the ability to connect to Salesforce, Service Now and/or Zendesk. When you are in the process of creating a new Copilot you can connect to one of the third party apps. (After Copilot has been created you can connect to the additional third party apps.) For this example I created a ZenDesk trial and I created a few knowledge articles. I select ‘Zendesk’ as my customer engagement service, and click ‘Setup’. When you click the ‘setup’ button, a ‘Connection setup’ window will open. This is where you click ‘sign in’ after which you can enter the connect to the third party app. All you need to do is follow the prompts on your screen to complete the connection! Once the connection has been configured you can click the ‘create’ button to create the Copilot. This will take a few minute, after which the Copilot configuration screen will open.

Configure Copilot for Service
When Copilot opens, it’ll take you to the overview screen. From this screen you can test and publish your Copilot, manage content resources and more. On the left hand side of the screen you’ll notice the different options related to the copilot that was just created. The ‘Configure Copilot’ area allows you to modify the Copilot’s messages, such as the start message, the ‘No-match message’ (which is the message that will be shown to the agent if there is no match to the question the agent asked Copilot) the ‘Start over confirmation’ message, the ‘Start over message’ and the ‘Thank you response’ message. If you want to add additional content sources you can do this from the ‘Content sources’ menu option. Here you can connect to additional third party services like Salesforce, Service Now or Zendesk. You’ll see the connected services and their connection status below ‘Customer engagement services’. Websites and SharePoint sites can be added from here as well. Keep in mind you’ll need to configure end-user authentication in order to use SharePoint or OneDrive as a source. Lastly, administrators can also add documents as a source to Copilot.
Just like in Copilot Studio, there are several channels available to publish your Copilot to, the current options are Microsoft Teams, a custom website, a mobile app and an agent console. The agent console allows you to add or embed Copilot in a third party app like ZenDesk. For more information take a look at this article from Microsoft. If you want to extend the copilot further, you can click on the ‘Extend with Copilot Studio’, which will take you right into Copilot Studio! From there you can create topics, add entities, and take advantage of all the other options in Copilot Studio! I hope you can see the value of Copilot for Service, as I surely can! This will be a gamechanger for organizations that have knowledge stored in third-party apps. I am hoping that at some point we will be able to add these third-party apps to the existing Dynamics 365 Copilots! I hope you enjoyed reading this article! Be sure to check in again next week for a new article or subscribe here to never miss another post!


Comments are Closed