


Enhanced Email Template Editor(preview)

In this article I am discussing the enhanced email template editor which is part of 2022 Release Wave 1. This functionality has been in preview since May 1st and per the Microsoft docs site this will be rolled out as GA in July of 2022. (You can access the Microsoft Doc site and read about the preview and GA dates here.) As the title of the article already explains, this feature give users a brand new experience when creating email templates in Dynamics 365. The new experience is a lot easier and it will allow your users to create some pretty great looking templates! What I noticed is that the new editor is similar to the experience in Dynamics 365 Marketing, although you don’t get all the options that Dynamics 365 Marketing has for their email templates. All and all, it’s still a nice upgrade from the previous experience! You will need to enable this feature in order to try this out, so I will go over those steps as well. There are 2 different ways to enable the enhanced email template editor. You can enable it on a per-app basis or you can enable this for all apps in the environment.
Enabling the enhanced email template editor for an environment
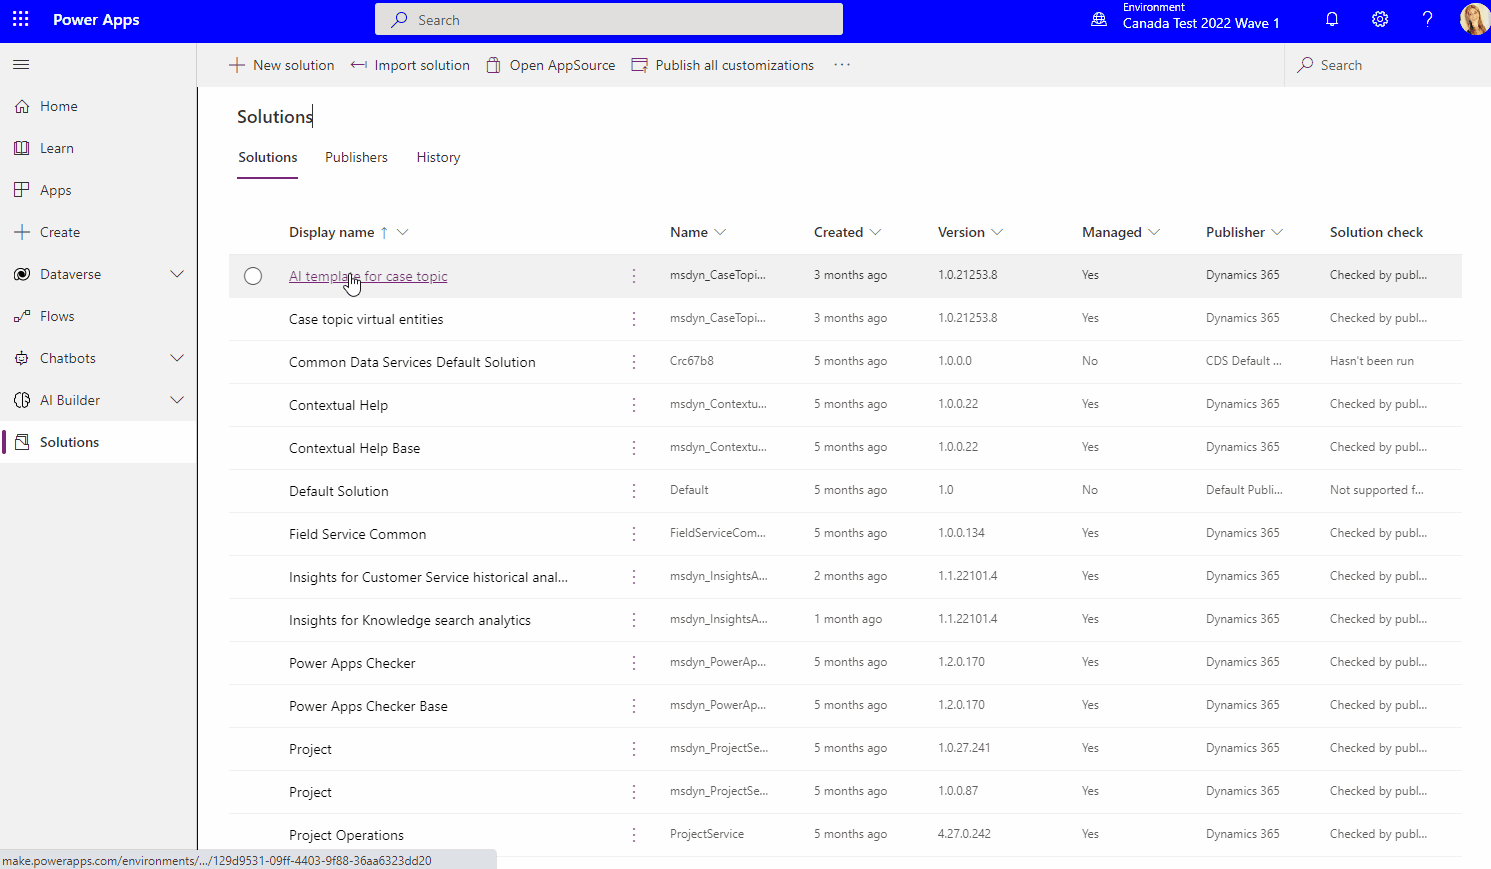
To enable this for an environment you need to navigate to make.powerapps.com and open the environment you want to turn this feature on for. Open the solution for which you want to enable the enhanced template editing experience. Keep in mind you cannot do this in the default solution. I also noticed you can’t perform these steps in a managed solution. Once you opened the solution, click on Add Existing (on the top of the screen) then select More and Setting. You’ll notice a window opening called ‘Add existing Setting Definition’. From here you will need to search for the ‘Enable the new email template editor‘ setting. Click on the setting and select ‘Next’ on the page. On the next screen you’ll need to click ‘Add’ to add the setting to the solution. Once the setting has been added to the solution you’ll need to select it and click ‘edit’ on the command bar. You’ll notice a sidepane will open with the details of the record. The only thing you’ll need to change is the ‘Setting environment value’ on the bottom of the screen. Make sure you set it to ‘Yes’. Save the record and publish the solution.
Enabling the enhanced email template editor for a single app
If you wanted to enable this functionality in just one app, you can do that as well. All you have to do is navigate to make.powerapps.com (make sure you have the correct environment selected). Click Apps on the left side of the screen. Click on the three dots on the right side of the app for which you want to enable the enhanced email template editor, then click ‘Edit’. Click on the settings button on the top command bar, then click ‘Features’ in the settings window. Set the slider below ‘Enable the New Email Template Editor’ to ‘Yes’. Save an publish the app.

Things to note
There are some important things to note after enabling this setting. I had turned this on in one of my sandboxes and was under the impression nothing had changed after enabling the feature, because when I tried to create a new email template from an existing one, the experience was the same. The reason for this was that I had pre-existing email templates in my environment, and I was trying to create a new email template by using one of the pre-existing templates. If you do that (even if the new experience is turned on) you’ll notice it will still load the ‘old’ designer. You will need to create new email templates in the new designer first to be able to use this functionality while creating email templates from a template. Another thing to note is that you CAN NOT upgrade or convert email templates that were created with the legacy (or ‘old’) experience into new ones… So unfortunately you’ll have to recreate them.
Functionality
Now let’s discuss the things that are available in the enhanced email template editor! The first time you create an email template will have to be from scratch, as I mentioned above that when you use an old template as a base to create a new one, the legacy editor will load. You can create a new email template by navigating to email templates in the app. I’m using the customer service hub and the email templates are on the bottom of the sitemap in the service area. Click ‘+New’ and you’ll need to start with a blank template. Once the mandatory fields are completed and you saved the record you should see the ‘Editor(preview)’ on the top of the form.

You’ll notice on the top right side you can switch the canvas to HTML, allowing you to create content in HTML. You’ll also notice the undo and redo buttons on the left side. Below the buttons you’ll see the toolbox, allowing users to drag and drop elements into the editor tab on the screen. The different elements available are:
- Text: Users can enter text in this block. They can take advantage of the formatting toolbar on the top
- Image: Ability to upload images in this block
- Button: This block can be used to show a button. There are additional configuration options available when the user clicks on the button from inside the editor
- Divider: This allows users to create dividers between sections.
Below the elements section you’ll see the layout section types. You pick any of the available column styles by dragging them onto the screen. I would recommend starting with this prior to using any of the tool box elements. If you dragged elements onto the screen prior to the layout blocks, you can move these very easily by clicking the 4 arrows and dragging them into a different section.
The ‘General Styles’ section shows on the left side of the ‘Elements’ section on the right side of the editor. Users can manipulate the background colors, change fonts and font sizes, change text colors, etc.
Lastly I wanted to mention the ‘Insert dynamic text button on the command bar. This is important because it will allow users to personalize the email message. All you have to do is select the table and a field, for example you could use the first name of the contact table when you’re creating email templates for the contact table.
Conclusion
I love how the new enhanced email template editor allows us to quickly create new email templates. This will also make it easier for Dynamics 365 users to send out a great looking email to customers, partners, prospects, etc. with a few single clicks, and without the need to know HTML! If you haven’t tried this out yet, I would encourage you to do so! Keep in mind this is still a preview feature (until July) so I recommend turning this on in your sandbox first! I hope you found this article informative! Be sure to check in again next week for a new article or subscribe here to never miss another post!


Thank you so much! Very informative and helpful!