


D365 Field Service Mobile: Reporting for the Model Driven App

Most of you are probably aware that Microsoft is moving away from the Resco built mobile app (Xamaran) for Dynamics 365 Field Service and that the direction is to use the new model driven app for Dynamics 365 Field Service. Starting June of 2021 all new Dynamics 365 Field Service deployments will only have the model driven mobile app, and in June 2022 everyone should be migrated off the Xamaran app to the new model driven app. If you weren’t aware, I work as a presales engineer which means that I get to build out the application based on requirements for prospect software demonstrations. So you might understand that showing the new model driven app when it first came out was sometimes hard to do, because the prospect wanted to see certain features that were available in the ‘old’ mobile app, but not (yet) in the model driven app.
I have to admit that Microsoft did a tremendous job adding a lot of these features in a very short amount of time. One of these features are the ability for a technician to run a service report directly from the app, summarizing the work that was performed on the work order. These reports usually need to be in a PDF format so they can be sent to a customer, and techs must be able to run the report regardless of having internet access. We can now user the PCF control to build a report that field technicians can use in the mobile application.
Solution
Microsoft created a solution that you need to install on the environment you want to enable this report feature. The solution can be downloaded from here. After you download the reporting solution package, you need to install the solution on your environment. Follow these steps to import the solution: Click on the gear icon on the top right and select ‘Advanced Settings’, then click on the arrow next to Settings and click on ‘Solutions’. Click on ‘Import’ on the mini ribbon then click on the ‘Choose file’ button. Select the package you downloaded and click next, then click Import.
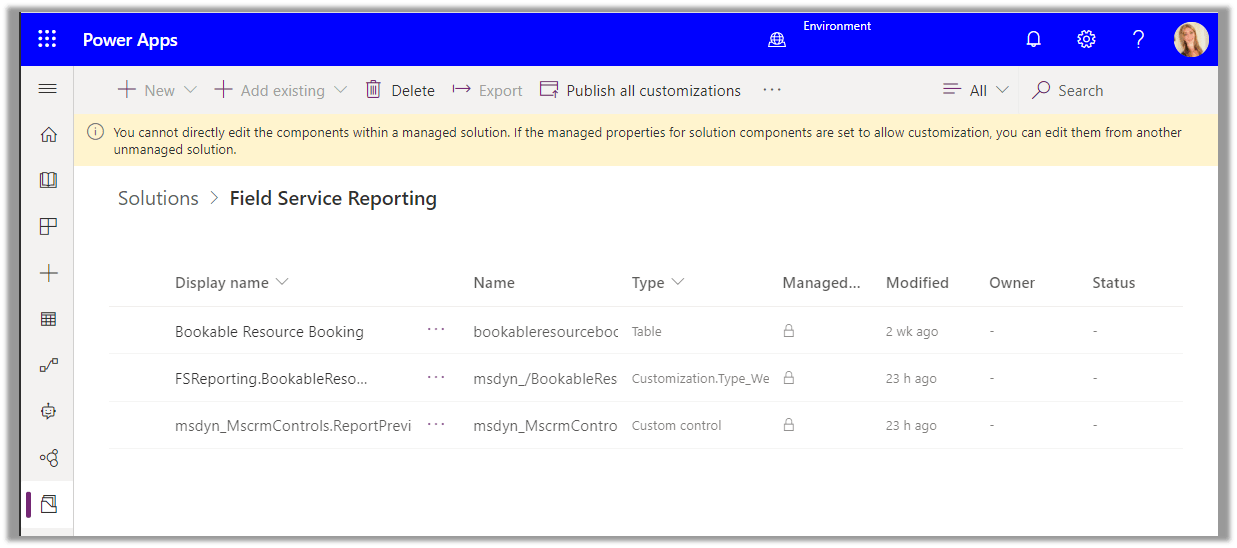
I noticed after importing the solution that is has a few interesting items, including a new PCF control. There is also a new form that is added to the bookable resource bookings table, called ‘Reporting’. When I opened the new form I noticed that there were 4 fields on the form. 1 of those fields are configured with the PCF control which I mentioned earlier. A new field has been added to the bookable resource booking table and on to the form. The field is called ‘msdyn_reportview’. This is a single line of text field that is configured with the ‘ReportPreview’ PCF control. Another new field is the ‘msdyn_offlinetimestamp’ and this is a date/time type of field. When looking at the properties I noticed that there is no PCF control configured for this field. There is also a sample report included in the solution. If you want to make changes to the existing sample report, you can download the PCF control source code here. After you make your changes, you need to import the PCF control back into your environment. Please check this article for guidance on how to do that.
Configure the Mobile App
After you import the solution you’ll need to configure the mobile app using the app designer. Follow these steps to enable the reporting functionality:
Click again on the arrow next to settings, then click on ‘Apps’ under the Application section. Click on the three dots on the Field Service Mobile App and click ‘Open in App Designer’. Enter ‘bookable resource booking’ in the ‘Search Canvas’. (Or scroll down until you see the bookable resource booking table. Click on ‘Forms’. You’ll notice that there is an additional form that has been added to the entity. Enable the ‘reporting’ form by checking the box next to the form. Click ‘Save’ and then click ‘Publish’ in the top right corner of the screen.
Generate the report from the mobile app
Since I mentioned the new form that was created for the bookable resource booking table, you are probably not going to be surprised when I tell you that the reports are run of the same table. This means that you have to have a booking open first. Once you open the booking you can access the report by manually switching the bookable resource booking form to the ‘Report’ form, or you can click on the three dots (More) on the bottom of the mobile app and select ‘Report’. (This report button is another addition from the imported solution.)

When you click on the report button you’ll notice that the form changes to the ‘Reporting’ form automatically. When you click the ‘Save’ button on the command bar on the bottom, the report will be added to the bookable resource booking as a note. The report will be added to the note as a PDF. Unfortunately there is no option to attach it to an email, you would have to open the PDF from the note and and send it from there, which are a lot of clicks, but I am hoping this will be added at a later time! Otherwise I guess you could create a flow for this…
I hope you enjoyed this post! Be sure to check in again next week for a new article or subscribe here to never miss another post!


Comments are Closed